In addition to the advanced technology and exceptional performance that we incorporate into each of our models, the finish and aesthetics are key aspects in offering our customers a bike that not only works well, but also looks spectacular. The painting process is therefore a crucial phase in the manufacturing of our high-end electric bikes in Spain.
Step 1: Frame Preparation
Before applying the paint, the bike frame goes through an exhaustive cleaning and polishing process. This first step removes any impurities or residue that could affect the adhesion of the paint and the uniformity of the finish. At this stage, we also check the surface for small imperfections or scratches, which are corrected before moving forward.
Preparation includes treatments such as shot peening or sandblasting on certain materials, especially on aluminum or steel frames. In the case of carbon fiber frames, cleaning is more careful to avoid damaging the fibers. Each material requires a specific technique to ensure a perfect result.
Step 2: Applying the Base or Primer
Once the painting is completely clean and dry, we move on to applying a coat of primer. This base helps the paint to adhere evenly and prolongs the durability of the finish. The primer we use at Bewatt is formulated to resist external agents, ensuring that the final paint does not deteriorate over time due to exposure to the elements, such as humidity, sunlight or abrasive particles in the environment.
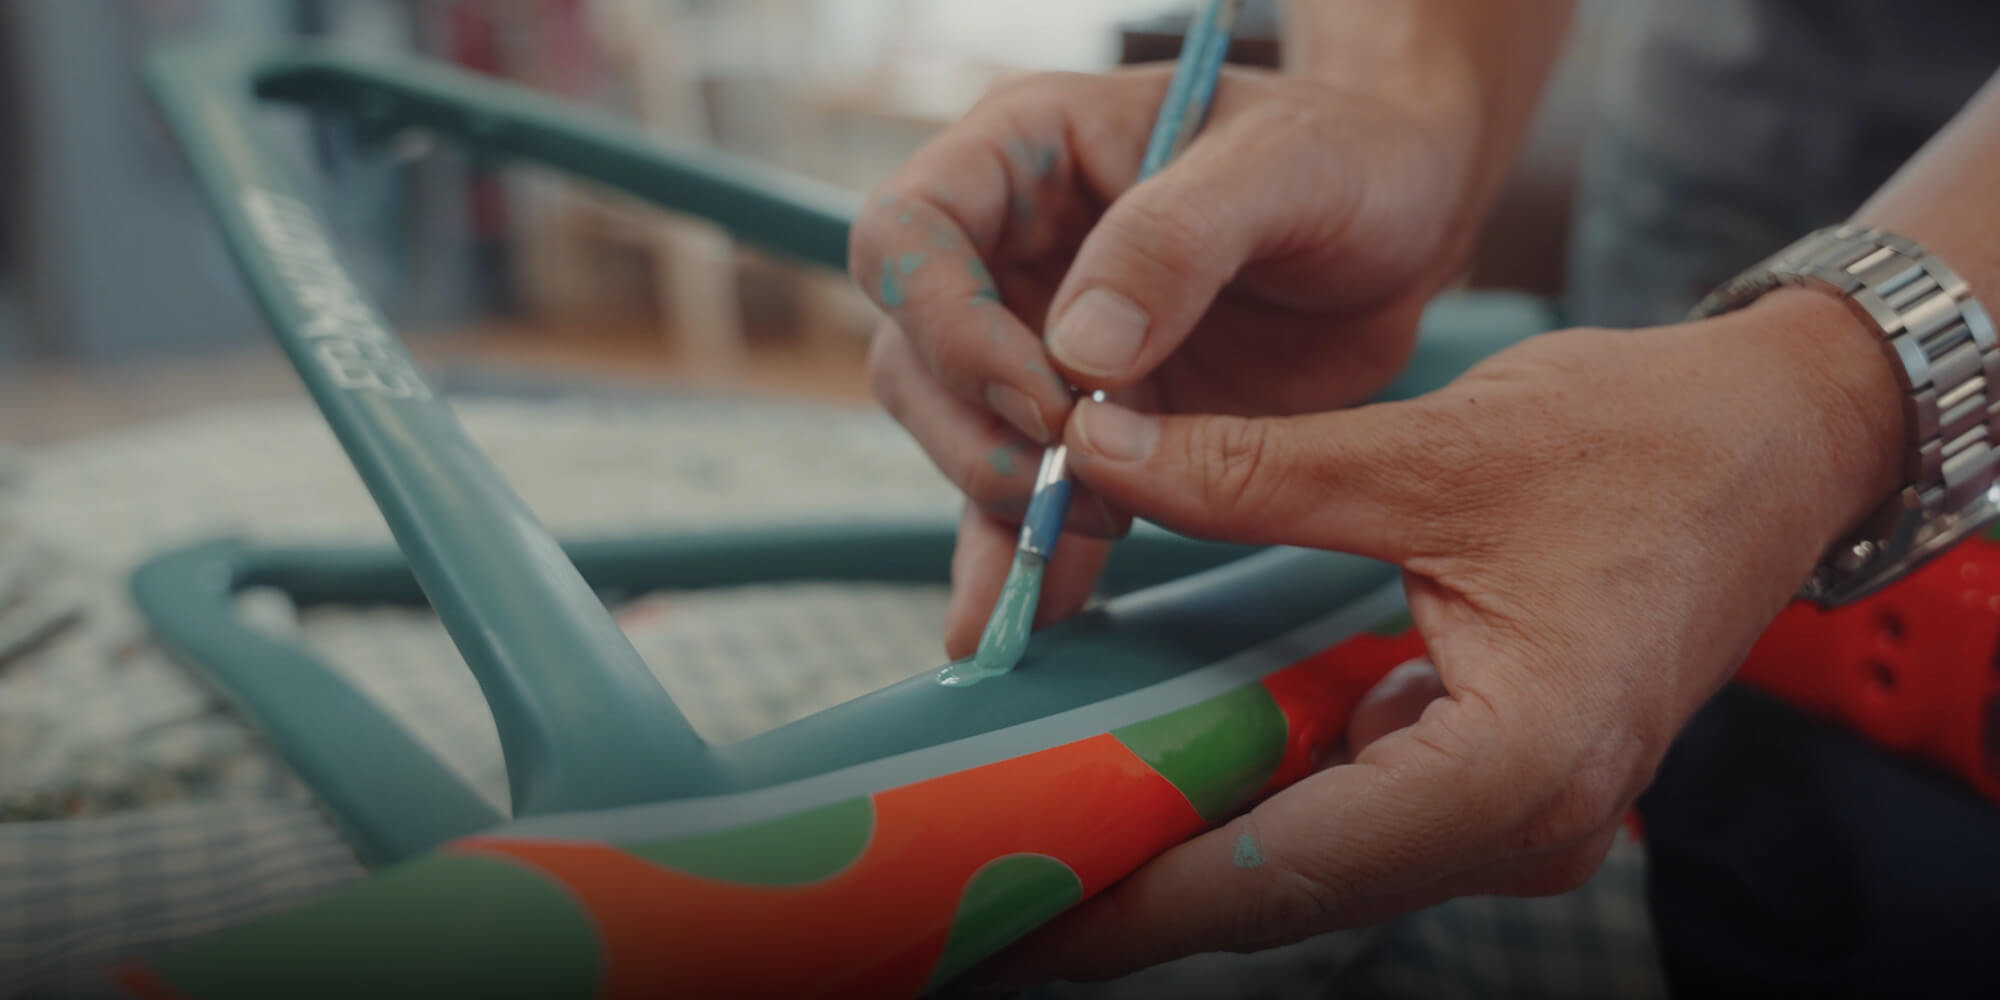
Step 3: Painting
This is where the painting begins to come to life. At Bewatt we work with a wide range of colours and finishes, from classic and elegant tones to vibrant and bold colours. Our painting team applies several layers, guaranteeing complete and uniform coverage. For some of our bikes, we use custom paint techniques, which can include matte, gloss, metallic or even colour gradient effects.
Paint application is usually done in a specially designed spray booth, with controlled temperature and humidity conditions, ensuring that there are no imperfections or bubbles. In addition, we use high-precision paint guns that allow us to regulate the exact amount of paint applied, minimising waste and contributing to the sustainability of the process.
Step 4: Drying and Curing
After the paint has been applied, the frame enters a drying and curing phase. At Bewatt, we use drying ovens that ensure that each layer of paint is cured to perfection, thus achieving greater resistance to wear. This curing process ensures that the paint is not only visually appealing, but also scratch and impact resistant.
Step 5: Finishing and Final Details
Once the paint has cured, it’s time to apply the final details. This step includes adding branded decals and any special designs that the customer has requested. Some bikes also receive an additional coating of clear varnish, which gives them an extra shine and an additional protective layer.
At Bewatt we take this final phase very seriously, as we want every bike that leaves our facility to be unique and reflect the high standard of quality that characterizes us. Every detail counts, and the final finish is what adds that distinctive touch that our customers value so much.
Sustainability in the Painting Process
We know that the painting process can have an impact on the environment, so at Bewatt we strive to reduce our ecological footprint. We use low VOC paints and coatings and application technologies that minimize waste. We also ensure that we comply with all environmental regulations and constantly look for ways to improve our process.